1Go to the BuzzBoard App in the Salesforce App Exchange and click on Get It Now.

2You’ll get the SF authentication window. Click on Log In and enter your SF credentials.

3After entering your credentials, you’ll receive a window with 2 options – 1) Install In Production and 2) Install In Sandbox. Click Install In Production if you want the app to be installed in your Production/LIVE SF environment OR Click Install In Sandbox if you want the app to be installed in the Sandbox/Test SF environment. Based on your selection, you’ll be redirected to the login screen of the respective environment (Production or Sandbox).

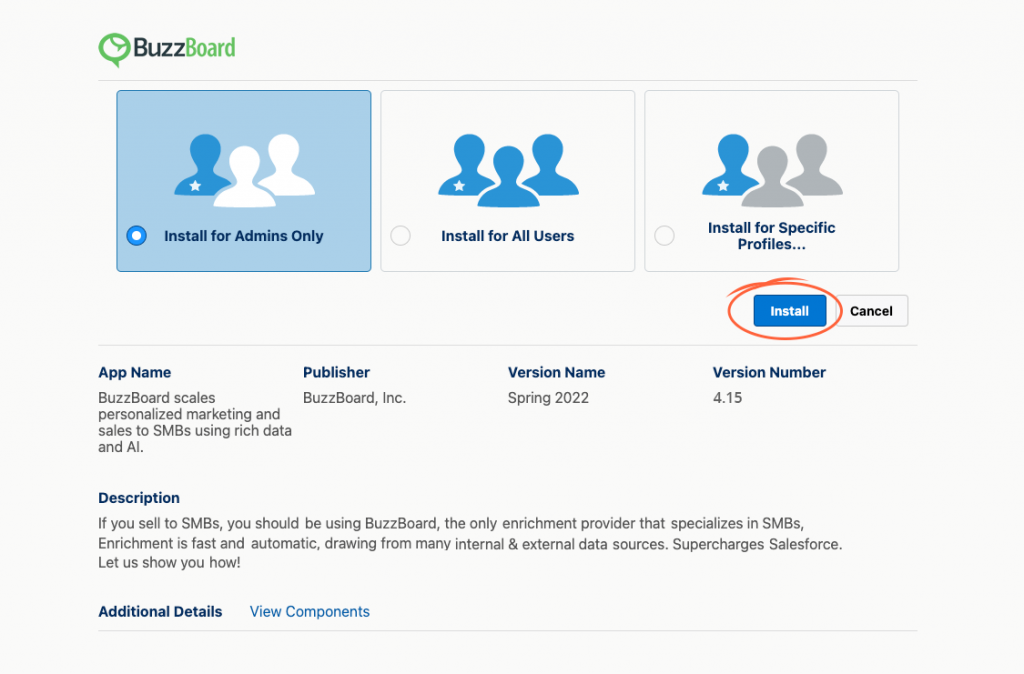
4You will now see the below installation screen that gives you three options – 1) Install for Admins Only, 2) Install for All Users and 3) Install for Specific Profiles. In this article, we will proceed with Option 1 (Install for Admins Only) which is also the recommended option.
Select the 1st option and click on Install.

5You’ll get the below screen where BuzzBoard is seeking approval to access your Salesforce. Select the checkbox and click Continue to approve BuzzBoard and complete the installation.

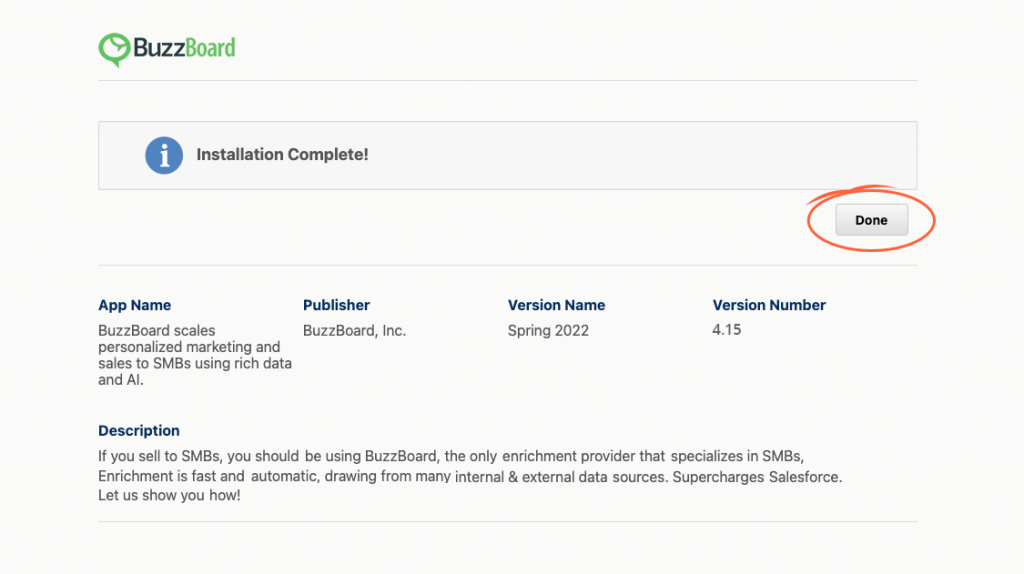
6Once the BuzzBoard app is installed, click on Done to confirm the installation.

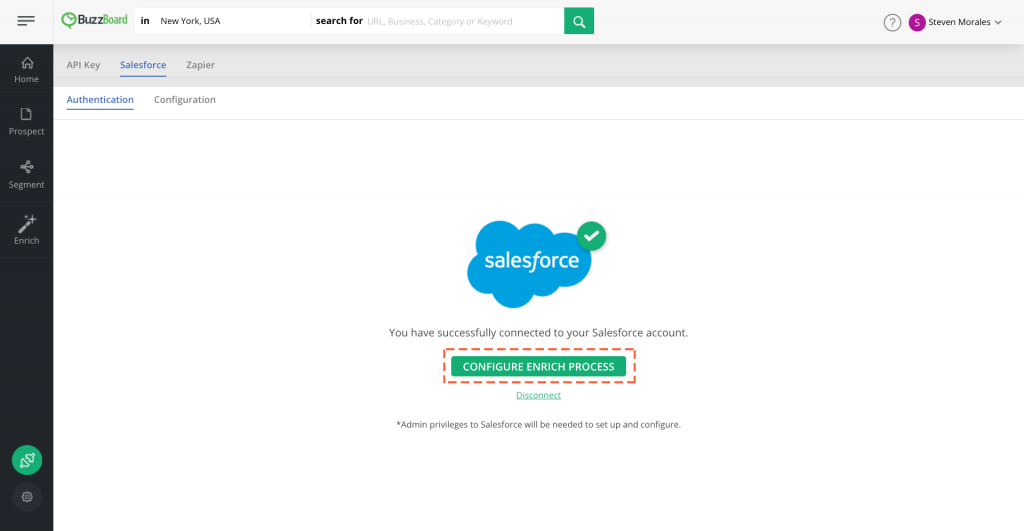
7Now that the installation is completed, log in to your BuzzBoard Demand account to complete the authentication and configuration. Here is a step-by-step guide to help you out.

Reach out to product@buzzboard.com for any further assistance